

Are you a passionate plant lover with a green thumb, eager to expand your collection of beautiful houseplants? If so, the fishbone cactus, scientifically known as Epiphyllum anguliger or commonly referred to as the ric rac cactus, orchid cactus or zig zag cactus, should be on the top of your propagation list. With its unique and intriguing appearance, this plant adds a touch of whimsy and beauty to any indoor garden. This comprehensive step-by-step guide explores the fascinating world of fishbone cactus propagation. So, grab your gardening gloves, and let’s dive in!
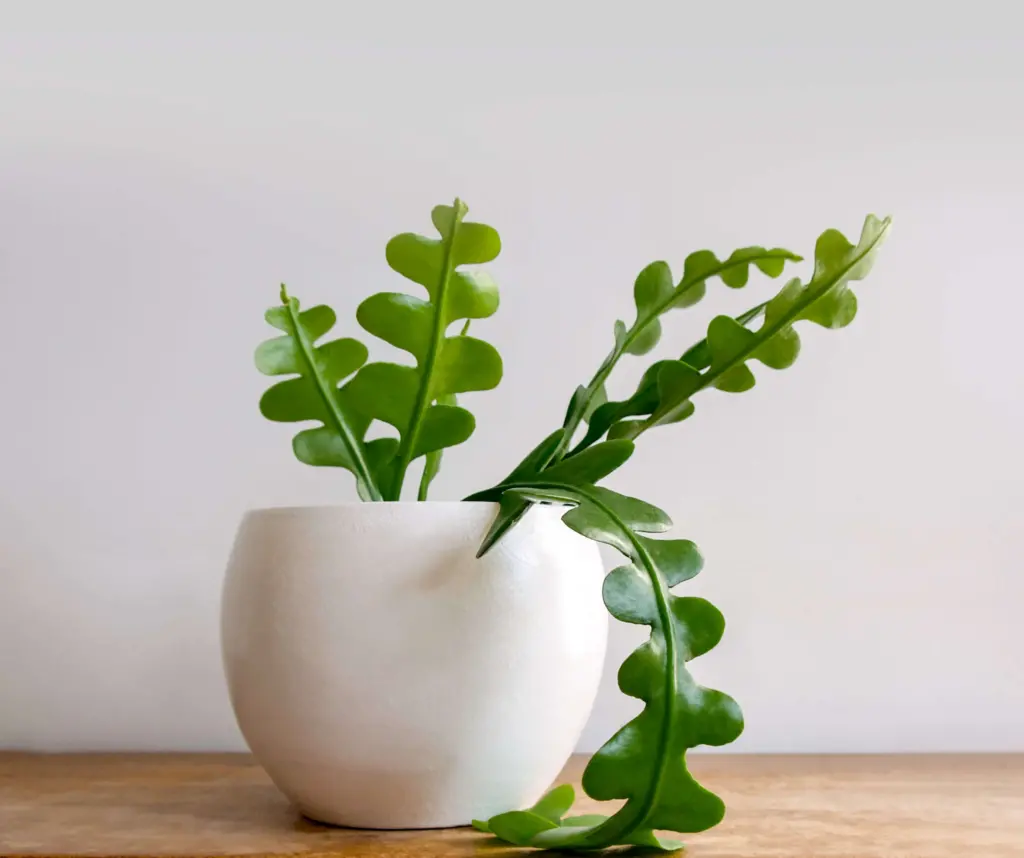
Fishbone cactus plants, native to the tropical rainforests of Central and South America, are epiphytic succulents. In their natural environment, they grow as epiphytes, meaning they cling to trees and rocks, deriving nutrients from the air and rain. Their unique zig zag-shaped stems, resembling the skeletal structure of a fishbone, make them stand out from the crowd of houseplants.
How to Successfully Propagate Fishbone Cactus

Before we begin the propagation process, gathering all the necessary tools and materials is essential. Here’s a handy checklist to ensure you’re well-prepared:
- A healthy fishbone cactus plant.
- Clean, sharp scissors or pruning shears.
- A small container or pot with drainage holes.
- Well-draining soil mix (a blend of cactus soil and perlite or coarse sand works well).
- A spray bottle filled with water.
- Rooting hormone (optional but can increase success rates).
- Patience and enthusiasm!
Now that you’re equipped, let’s proceed to the step-by-step propagation process:
Step 1: Choose the Right Stem
Choosing suitable stem cuttings for optimal results is crucial for the propagation journey. Look for healthy stems free from any signs of damage, disease, or pests. Ideally, select new stems that are four to six inches long, as they tend to root more successfully. Avoiding stems with wounds, fungal or bacterial infections increase the chances of a thriving propagation process. Healthy stem cuttings are the building blocks for successful fishbone cactus propagation.
Step 2: Make a Clean Cut
In the second step of zig zag cactus propagation, making clean and precise cuts when preparing the stem cuttings is crucial. Take your sharp scissors or pruning shears and ensure they are clean to minimize the risk of introducing pathogens to the fishbone cactus cuttings. With steady hands, make a smooth and even cut just below a segment on the selected stem. This clean cut helps promote faster healing and reduces the chances of fungal infection. Attention to detail during this step sets the foundation for healthy and thriving fishbone cactus cuttings.

Step 3: Allow the Cuttings to Callus Over
After cutting, set the stem aside in a warm, dry location for approximately one to two weeks. During this time, the cut end of the stem will develop a callus—a protective layer that seals the wound and prevents rotting. Placing the cuttings on a clean paper towel or a tray lined with dry pebbles can help maintain the ideal environment for callusing.
Step 4: Prepare the Ideal Propagation Pot with Proper Drainage and Nutrient-Rich Potting Mix
As you progress in the fishbone cactus propagation process, it’s time to prepare a suitable propagation pot that will provide a nurturing environment for your new plants. Choosing the right pot and potting mix is crucial for their healthy development.
Select a small pot with drainage holes to ensure proper water drainage. These holes allow excess water to escape, preventing waterlogging and potential root rot. Adequate drainage is essential for your fishbone cactus cuttings’ overall health and longevity.
Next, fill the pot with a well-draining potting mix. A combination of cactus soil and perlite or coarse sand works exceptionally well for fishbone cacti. This mixture promotes optimal aeration, prevents water retention, and allows excess water to pass through the soil easily. The well-draining soil ensures that the delicate roots of your new plants won’t sit in stagnant water, minimizing the risk of root rot.
When filling the pot with the potting mix, ensure enough space for the stem cuttings to be inserted without overcrowding. The potting mix should provide sufficient nutrients and support for the developing roots, creating an ideal growing environment. Remember, a healthy start in a well-draining potting mix sets the stage for successful fishbone cactus propagation.
Step 5: Plant the Cuttings
Now that you have prepared the propagation pot and selected the ideal stem cuttings, it’s time to plant them and set the stage for your future indoor fishbone cactus plants. The planting process involves careful insertion of the cuttings into the potting mix, ensuring their stability and providing the right conditions for rooting and growth.
Begin by creating small holes in the potting mix using your finger or a pencil. Ensure the holes are deep enough to accommodate the base of the stem cuttings. Gently insert the cuttings into the holes, ensuring at least one segment is buried in the potting mix. This segment will establish the foundation for root development, while the remaining segments will emerge above the surface, showcasing the distinctive fishbone shape.
Consider the ultimate placement of your zig zag cactus plants when planting the cuttings. If you plan to grow them as individual potted plants, space them appropriately in the propagation pot for future growth and expansion. Alternatively, if you intend to create a cascading display or incorporate the fishbone cacti into an existing plant or hanging basket, arrange the cuttings accordingly, considering the plants’ desired aesthetic and growth habits.
Ensure the cuttings are positioned securely in the potting mix, providing stability during the rooting process. Gently press the soil around the base of the cuttings to provide adequate contact and support. This will help the cuttings establish firm roots as they embark on their journey to becoming thriving indoor fishbone cactus plants.
Step 6: Provide Optimal Conditions
Fishbone cacti, also known as Epiphyllum anguliger, thrive in tropical climates in their natural habitat. To ensure their optimal growth and health, it’s essential to provide proper care and replicate their preferred conditions as closely as possible.
Place your fishbone cactus in a location that receives bright, indirect light. Avoid direct sunlight, as it may scorch the delicate segments. The top half of the soil should be allowed to dry out between waterings to prevent overwatering and root rot. Use a spray bottle to mist the foliage occasionally, as fishbone cacti appreciate some humidity.
In terms of average household temperatures, aim for a range between 65°F to 75°F (18°C to 24°C), which mimics their natural tropical environment. During the growing season, typically spring and early summer, you can fertilize your fishbone cactus with a diluted, balanced cactus or orchid fertilizer to provide the nutrients for healthy growth.
As with any plant, watching for signs of stress or pests is essential. Regularly inspect your fishbone cactus for any indications of problems and take appropriate measures if needed. Your fishbone cactus will thrive and bring tropical elegance to your indoor space with proper care and attention.
Each plant is unique, and observing your fishbone cactus and adjusting your care routine is essential. You’ll ensure your beloved fishbone cactus’s long-term health and vitality by providing the ideal conditions and meeting the specific care requirements.
Step 7: Patience and Tender Care
Native to tropical habitats, fishbone cacti require patience and tender care. Give them bright, indirect sunlight, keep the soil half-dry between waterings, and maintain warm temperatures between 65°F to 75°F (18°C to 24°C). Observe your plant for any signs of stress and adjust your care accordingly. With time and proper care, your fishbone cactus will thrive in its new home, bringing tropical beauty to your space.
Step 8: Celebrate Rooting Success
It’s time to celebrate once the cuttings have successfully rooted and developed new growth! You can gently tug on the base of the stem to check for resistance, indicating that the roots have formed and established. At this point, you can start gradually acclimating the young plants to more extended periods of direct sunlight.
Step 9: Transplantation and Continued Care
When the young fishbone cactus plants have outgrown their propagation pot, it’s time to transplant them into slightly larger pots. Choose containers with ample drainage holes to avoid waterlogging. Fill the pots with a well-draining soil mix similar to the one used during propagation.
The growing season typically spans the early spring until the late summer, providing your fishbone cacti with regular fertilization. Use a balanced, diluted cactus or orchid fertilizer according to the manufacturer’s instructions. This will supply the necessary nutrients to support healthy growth and vibrant foliage.
Aerial roots, a characteristic feature of epiphytic plants, may emerge from the stem segments as the plant matures. These roots are adaptive structures that help the plant cling to surfaces and absorb moisture from the air. Don’t be alarmed if you notice them—consider it a natural part of their growth.
Final Thought on how to propagate fishbone cactus
propagating fishbone cactus plants is a delightful journey that brings joy to plant enthusiasts. With some knowledge, patience, and attentive care, you can expand your collection of these beautiful succulents and share their beauty with others. By providing the right conditions, such as well-draining soil, bright indirect sunlight, and mindful watering, you’ll witness the transformation of stem cuttings into thriving fishbone cactus houseplants. Embrace the adventure of propagation and let nature’s magic unfold as you nurture and care for your fishbone plants. Soon, you’ll be rewarded with a lush and enchanting display of tropical allure in your indoor garden. Enjoy the fulfillment that comes with growing and caring for these unique houseplants.
FAQ
Are fishbone cactus plants fast-growing?
Fishbone cactus is generally a slow to moderate grower. While it doesn’t grow rapidly like other plants, it gradually develops over time. Its growth rate can vary depending on environmental conditions and the care provided. Patience is key, as the plant may take months or even years to reach its full potential.
Is a fishbone cactus blooming?
Yes, While the frequency and timing of blooming can vary, the fishbone cactus produce exquisite white flowers that add extra beauty to their unique appearance. The blooms typically emerge from the notches or edges of the zig-zag stems.
Fishbone cactus blooms are often large and showy, with vibrant colors ranging from white and cream to shades of pink, red, or yellow. The flowers may have a pleasant fragrance that further enhances their allure. The blooming period can occur in spring or summer; each flower lasts several days before fading.
Recent Posts
Unlocking the secret to expanding your begonia maculata family is like discovering a treasure trove of green goodness. If you've ever marveled at the stunning beauty of angel wing begonia leaves and...
If you've ever found yourself marveling at the surreal beauty of air plant blooms, you're in for a treat! These enchanting bursts of color amidst a sea of lush green foliage are like nature's way of...